Introduction
Note: This guide references our AeroPack, which is now available as the CargoPack system or as part of our modular Pannier Rack range
This guide will focus on how to fit a Carbon CargoPack (formerly known as an AeroPack) to the Sonder Camino Ti 2024 in particular, but this fitting guide applies to the other Camino Ti models too. With a fast and light titanium frame, Sonder designed the Camino Ti for long-distance comfort on gravel trails. It’s a popular bikepacking choice for many Tailfin customers. You can search ‘Camino’ in our reviews to see just how often it comes up.
The Camino is currently available in alloy, steel, and titanium versions, and the frames have undergone small changes since their introduction.
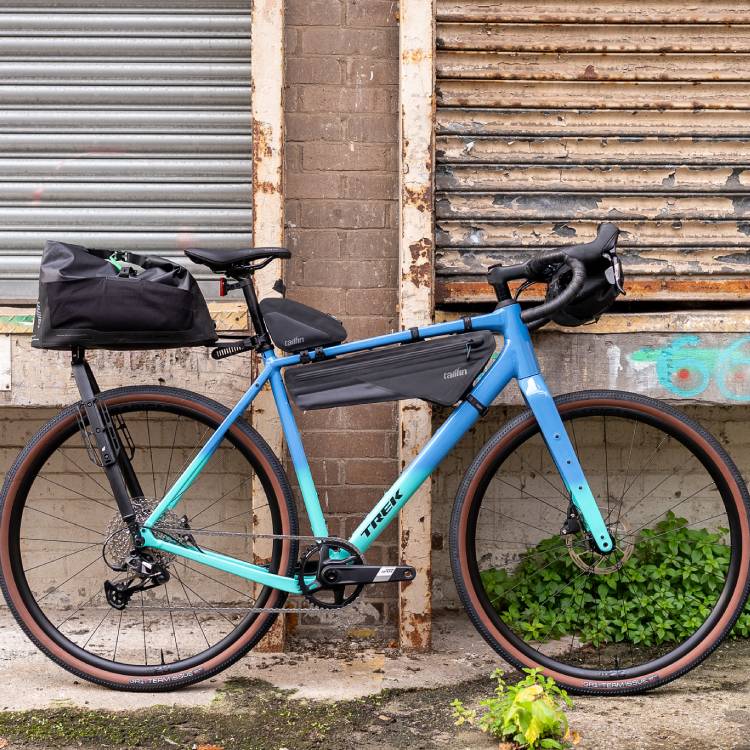
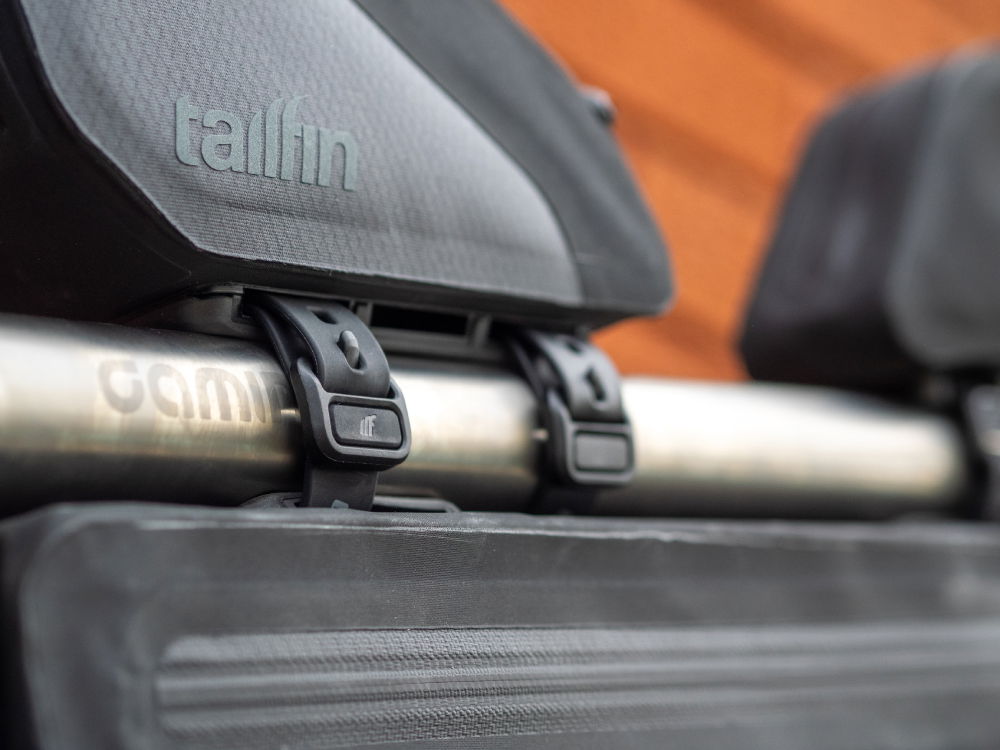
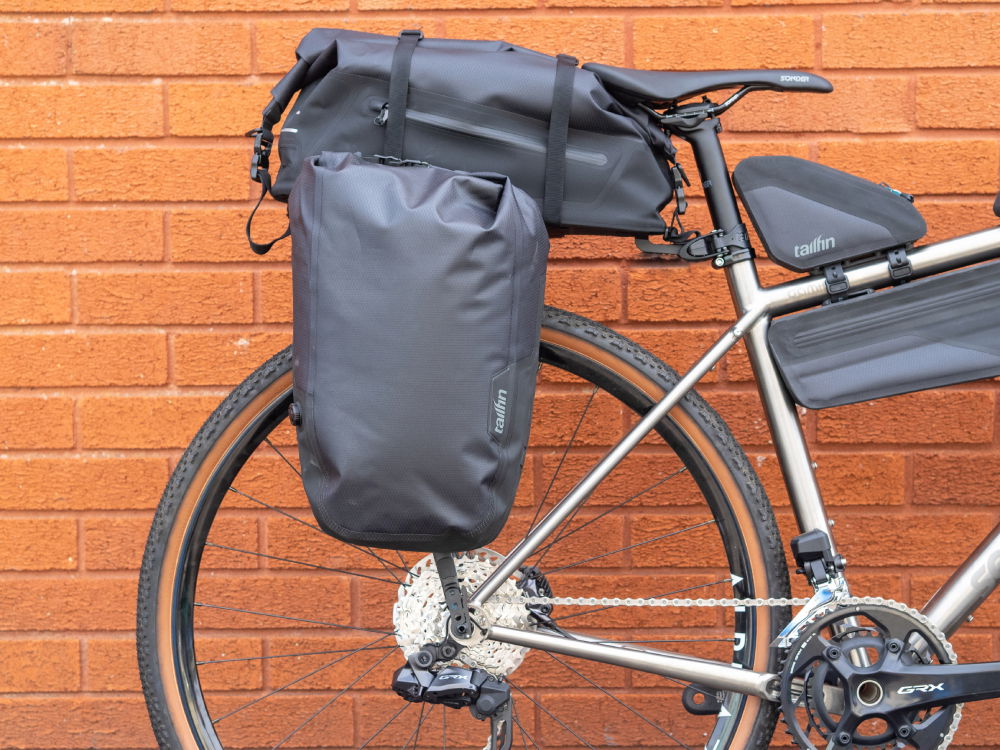
Featuring: Large Cargo Cage, 0.8L Zip Top Tube Bag, 0.9L Rear Top Tube Bag, 4.5L Half Frame Bag, Carbon CargoPack with a 16L Mini Pannier.
Configure your Tailfin Order
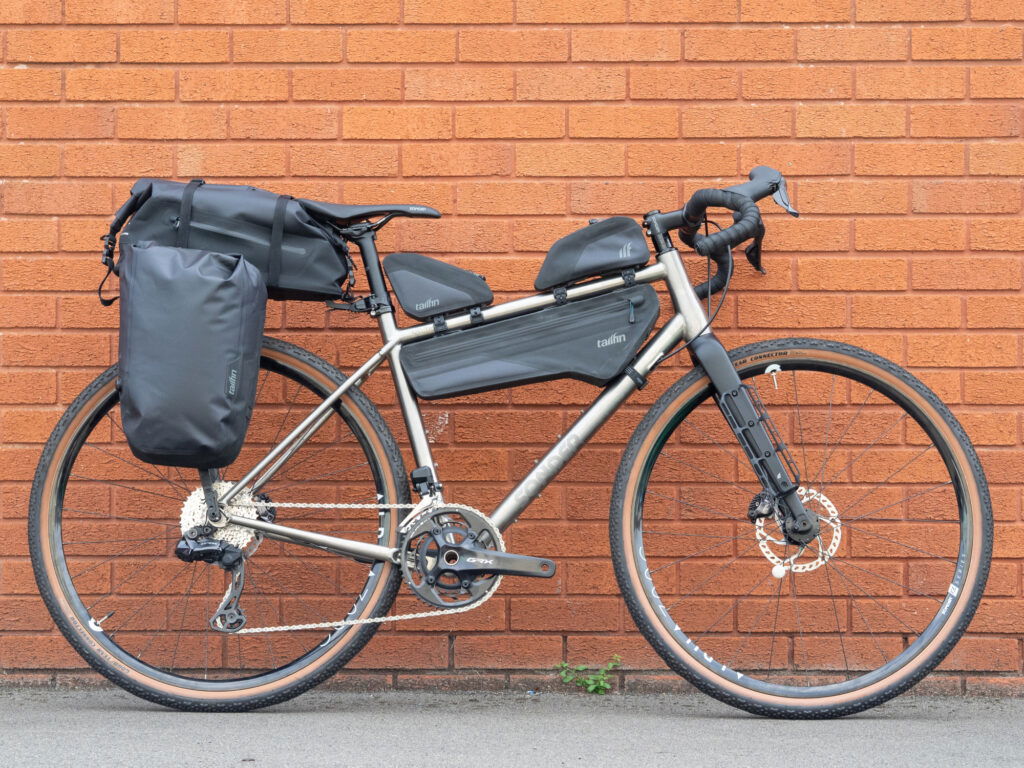
In this example, we’re showing the Carbon CargoPack with Pannier Mounts. Our Alloy versions (and our Pannier Racks) are also available and compatible with this bike.
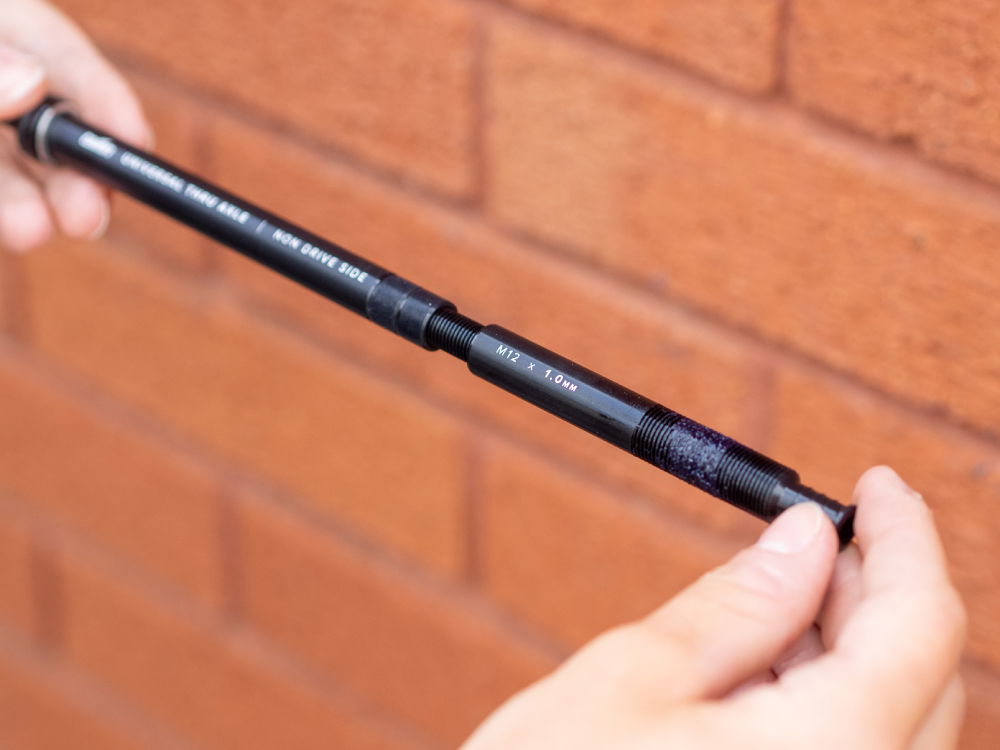
See our comparison guides to help choose which setup is best for you based on your riding plans. When placing your order, use our Axle Guide to determine which type of axle is required for your Camino and any additional adaptors necessary. If your bike has a Thru Axle, we recommend the Universal Thru Axle, and if your bike uses a Quick Release (QR) Axle, then you will need to choose this instead.

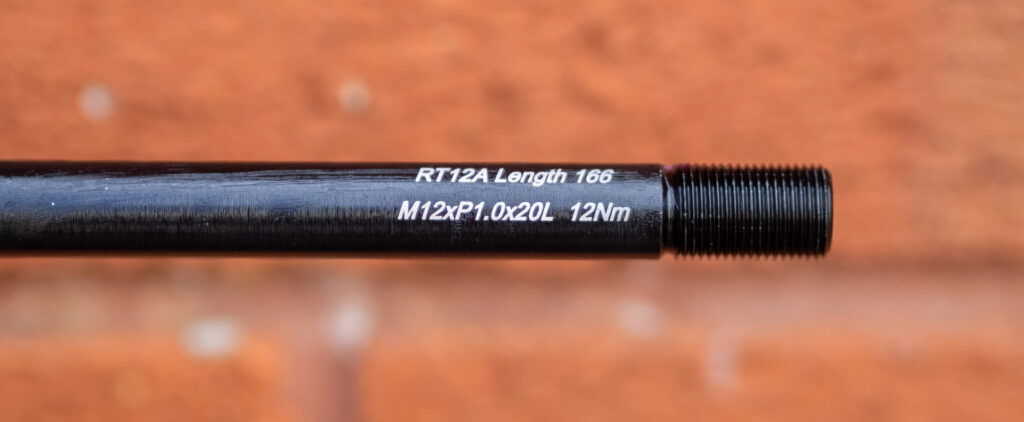
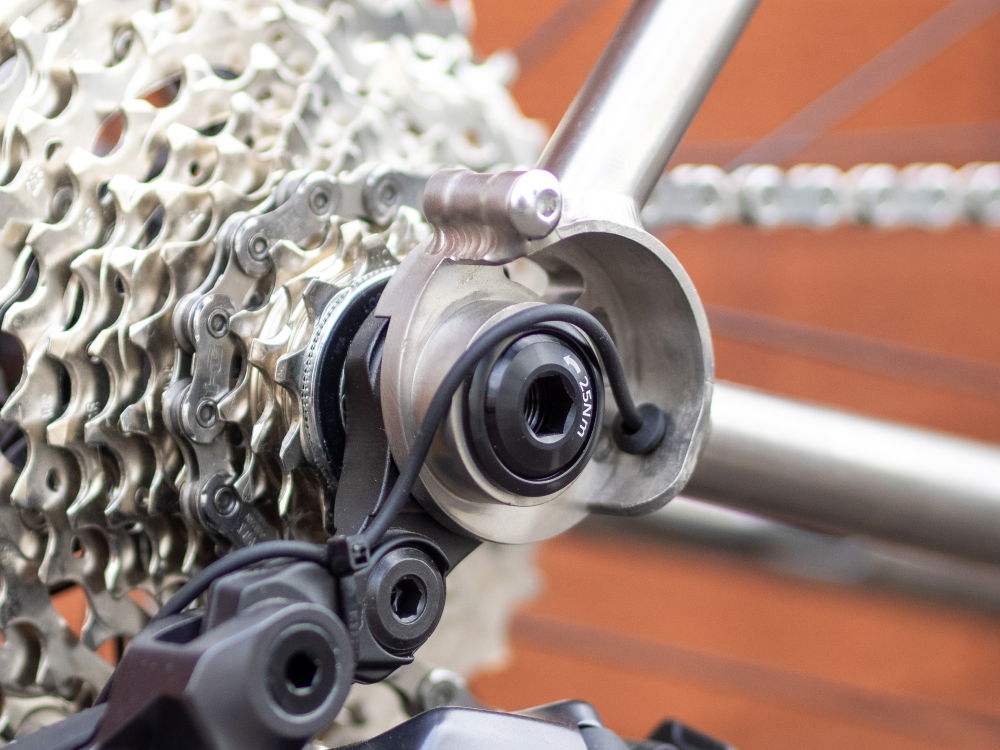
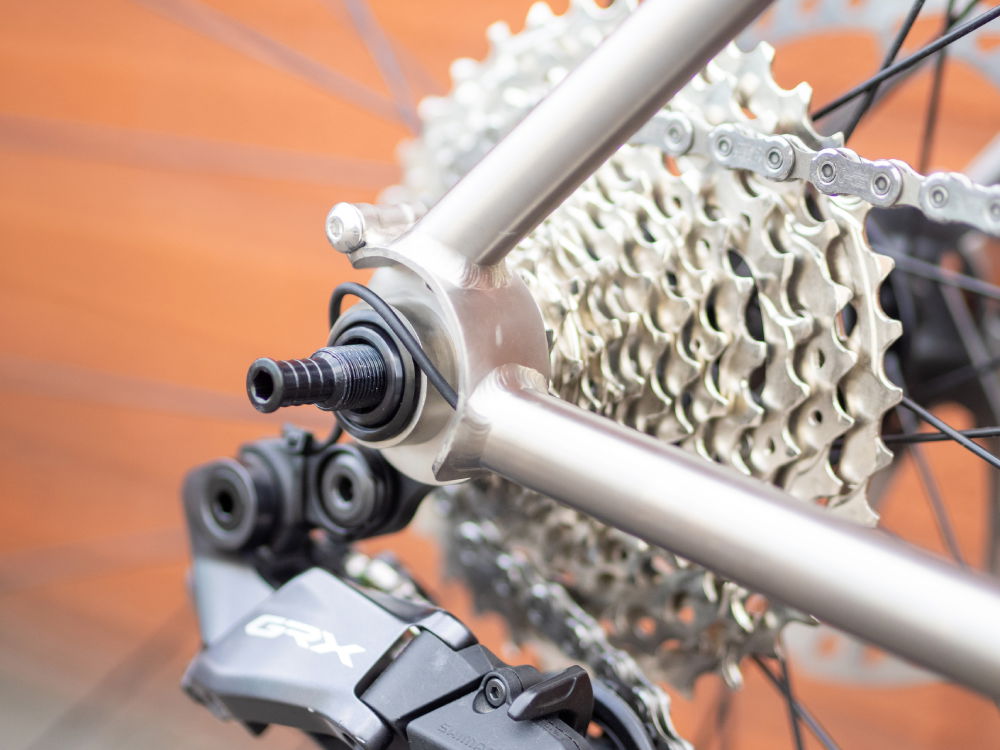
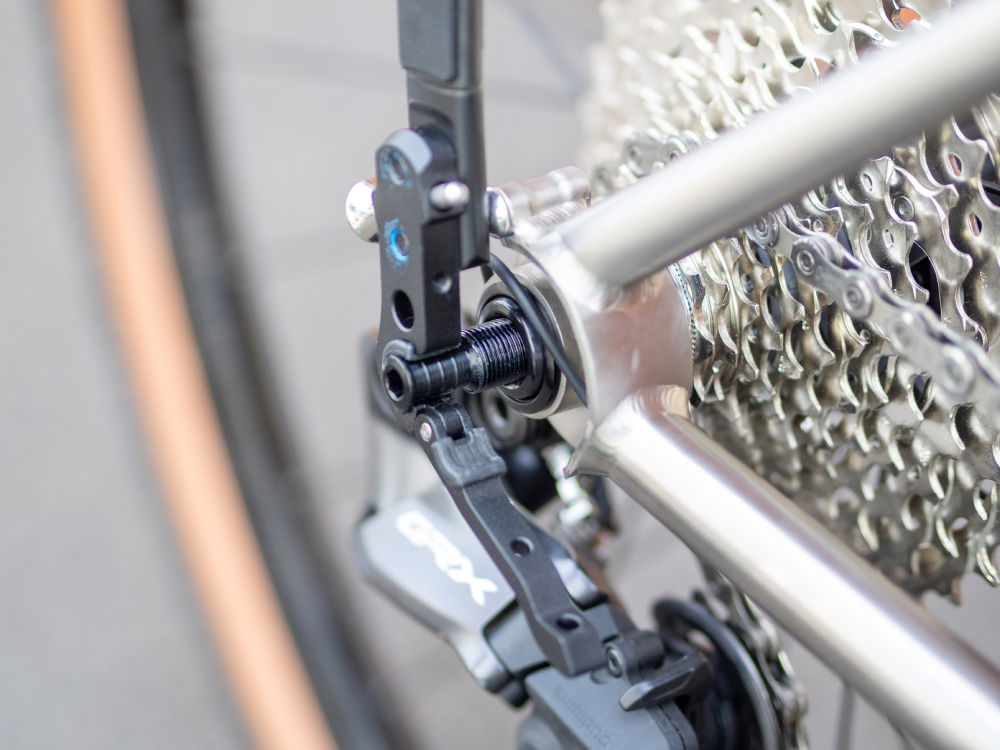
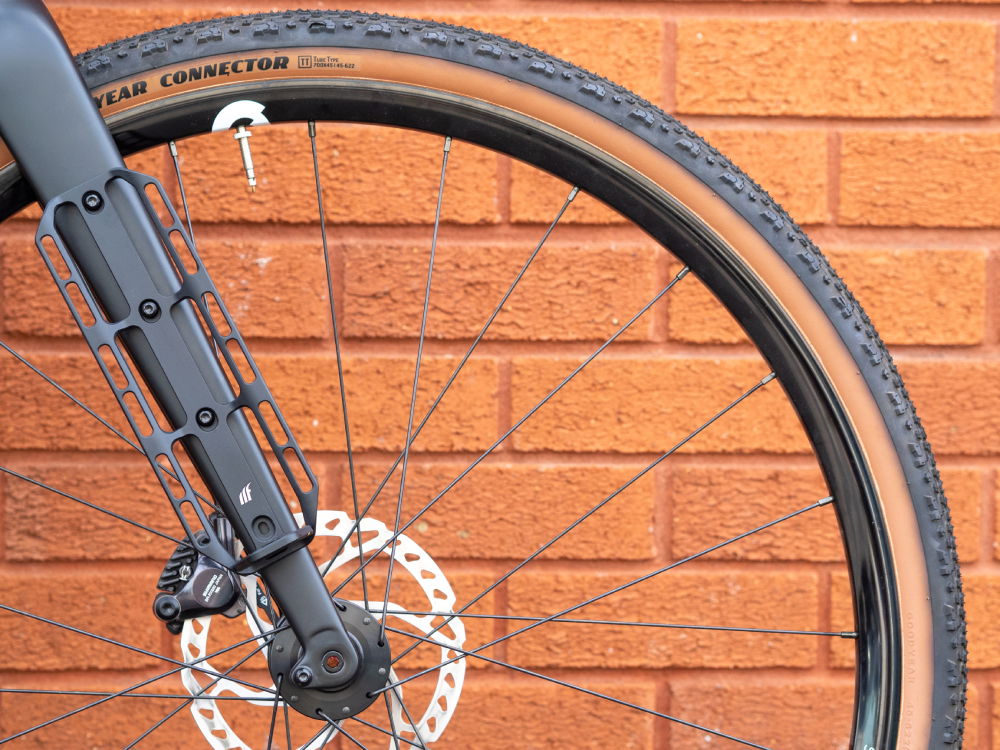
Sonder uses their own version of the Universal Derailleur Hangar (UDH) on the Camino, which features on the 2024+ versions. Our UDH Adaptor only works with the SRAM-branded UDH due to the use of different thread pitches from the Sonder-specific version. The SRAM UDHs are available to purchase at your local bike shop and online. They fit with the Tailfin Universal Thru Axle using the 1.0mm Thread end. You can identify a SRAM UDH by the small ‘UDH’ text on the bolt. Although the SRAM UDH is a SRAM part, it is compatible with and widely used on bikes which have Shimano groupsets too. If your Camino uses a Thru-Axle and is older than 2024, you can simply use the Universal Thru Axle (no additional adaptors are required).
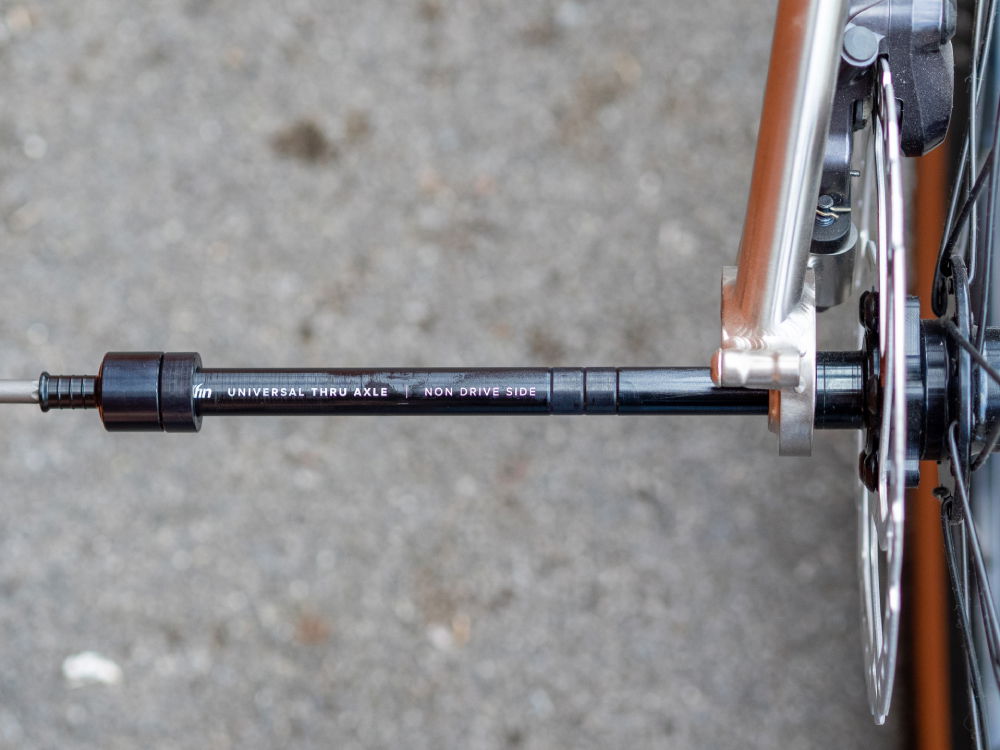
You may wonder why we recommend using a Universal Thru Axle for the Camino despite its on-frame mounting points. These mounts are also for rack mounting, but Thru Axle mounting is the strongest option, which works for the majority of bikes. By attaching your Tailfin system to the axle, the stresses on your frame are almost eliminated. It is the mounting approach we recommend above all others.
Additional Considerations with the Sonder Camino
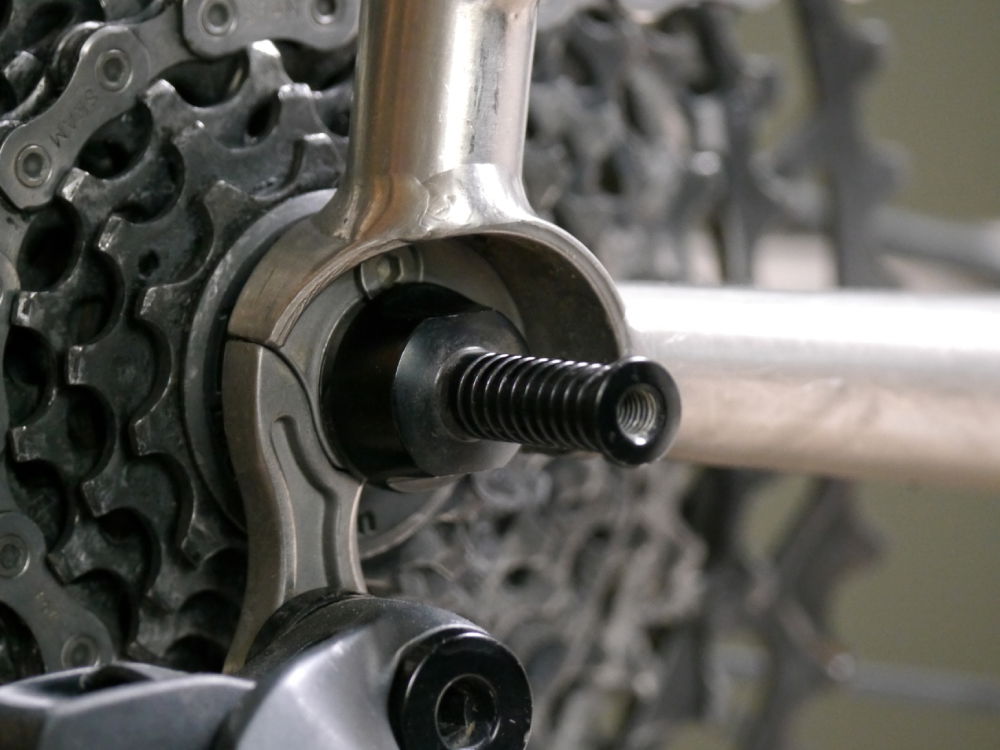
Additionally, titanium and steel frames often have ‘hooded’ dropouts. This is where the frame obscures the space above the dropouts – the location required for mounting the Tailfin arch. The Universal Thru Axle comes with up to 15mm in extenders, which can be added centrally, between the two axle ends. This pushes the rack mounts further out – beyond the ‘hoods’ of these frames. Both the carbon and alloy racks have been designed with a degree of flex to accommodate this width difference. The QR Axle mounts are wide enough to clear the ‘hooded’ frame.
You may find that you lack clearance between the dropout and the rack/mudguard mounting point when using the Sonder Camino 2024+ (below). We recommend using clip-on mudguards to avoid this issue.

Time To Assemble
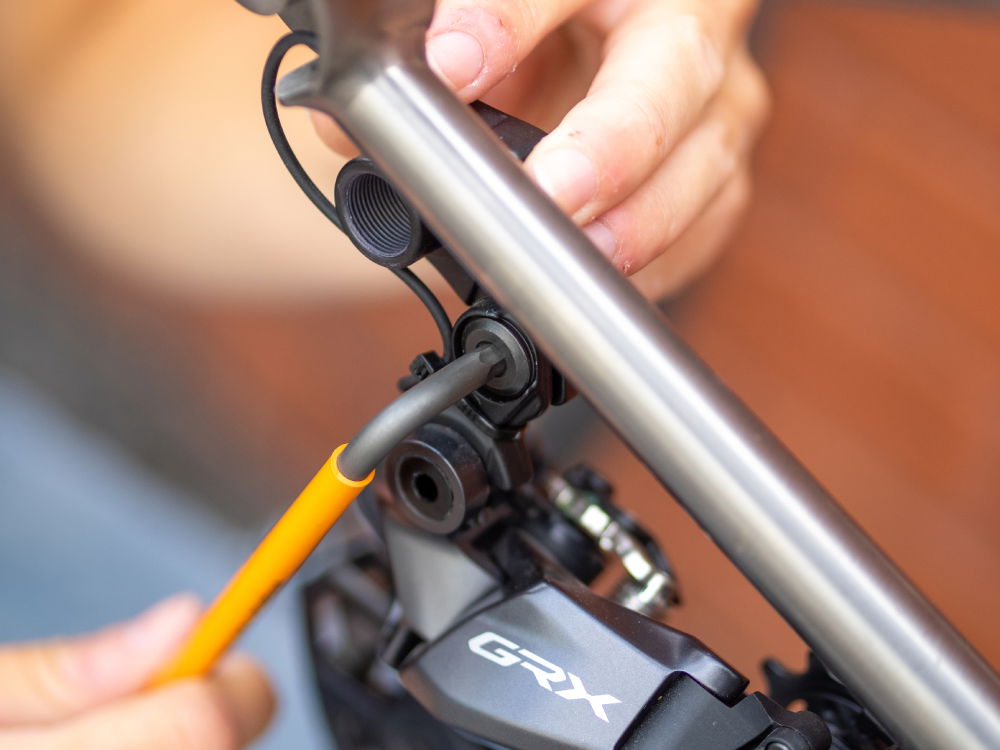
Use our assembly guides to put together your CargoPack. You’ll need a Torx T25 tool and a torque wrench to do this.

Fit the new axle
Now your CargoPack is assembled, just one part remains – fitting it to your bike. To do this, you’ll need to install the Universal Thru Axle as shown.
This video guide and this PDF guide are useful to demonstrate step-by-step how to fit the Universal Thru Axle to your bike.
Follow the steps below to install the new axle:


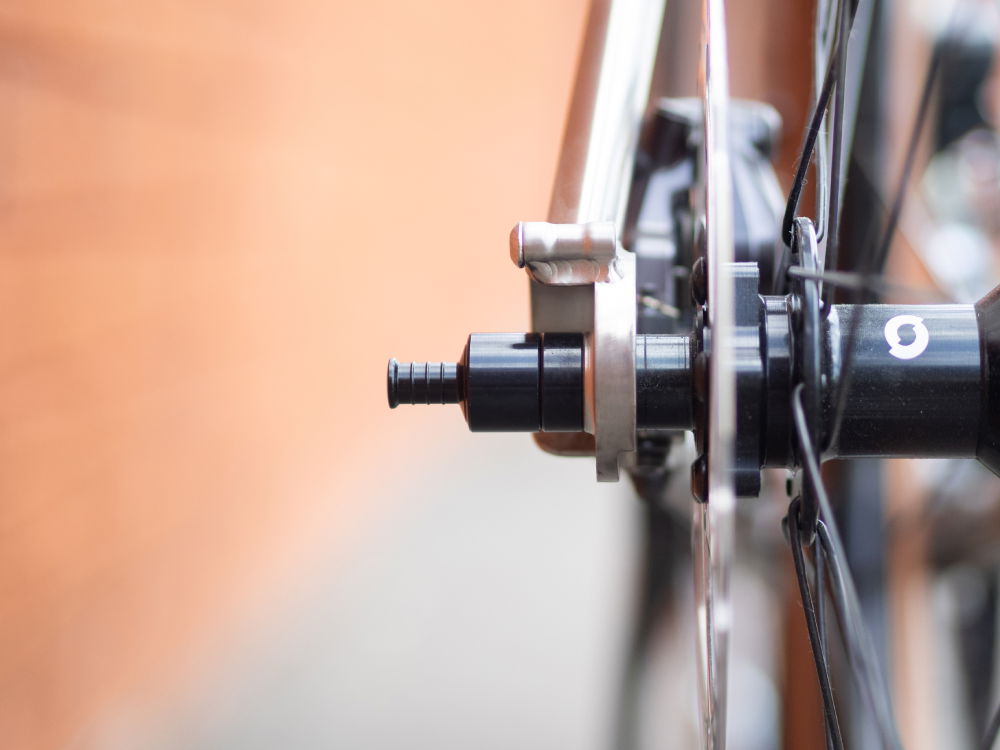
You can leave the axle fitted even without the CargoPack attached. It’s normal for threads to show on the driveside – it is just as safe as your original axle, as the number of axle threads engaged with the frame is the same. To remove the Universal Thru Axle (and to avoid the axle separating within the wheel), undo it from the driveside (right) of your bike.
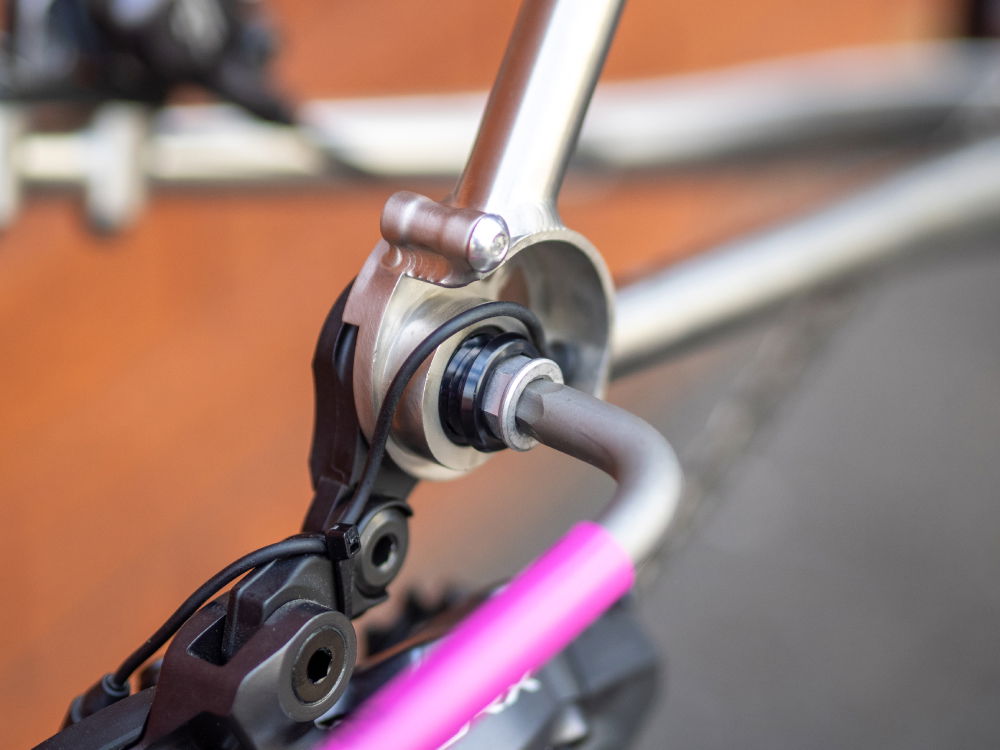
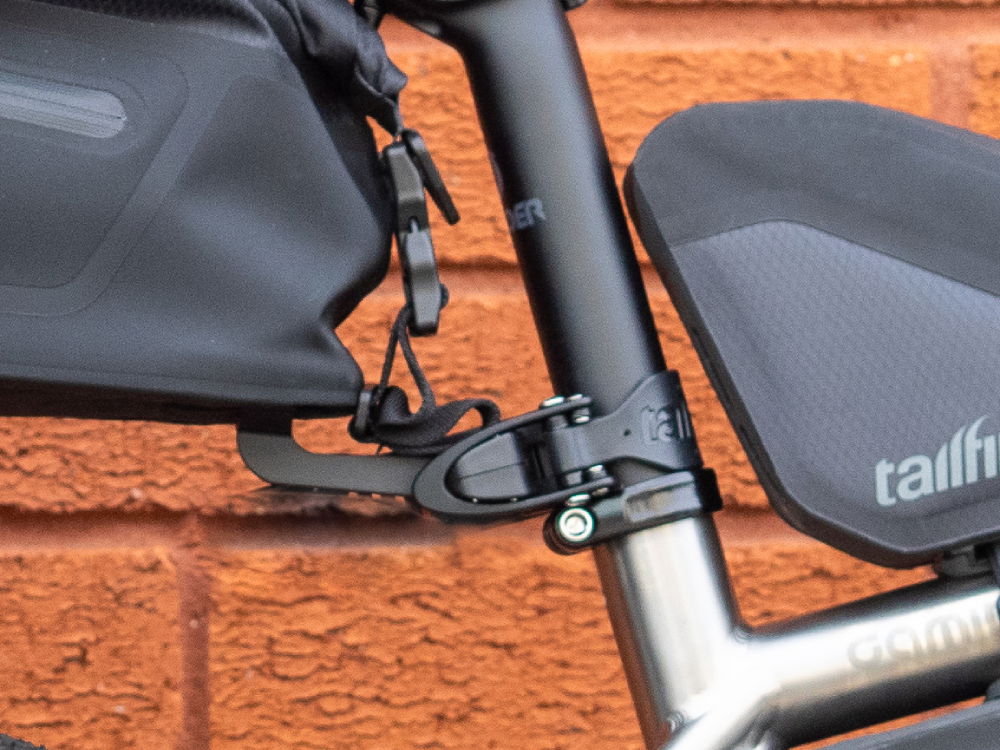
Attach your CargoPack
The last step is to attach the CargoPack to your Camino. It’s often easier to do this standing behind your bike.
Once securely mounted and the pre-ride checks have been made, you’re ready to ride!
Optional Extras
If your bike is <54cm or has <10cm of seatpost showing between the saddle and the seatpost clamp, we recommend using the included Extended Seat Post Connector (or Long Top Stay if purchasing a Rack). The Extender pushes the bag further away from your saddle and helps maximise the space available for the CargoPack’s bag. For the best results, we recommend packing smaller/softer items at the front of the bag when using a smaller bike. We also have a useful guide for tips to fit a smaller bike.
There are many setup options you can choose for your Camino. In this example, we’ve added a Large Cargo Cage, 0.8L Zip Top Tube Bag, 0.9L Rear Top Tube Bag, 4.5L Half Frame Bag, and a Carbon CargoPack with 16L Mini Panniers.
If you have any additional questions, though, contact us, and we’ll be happy to help.
Happy riding!