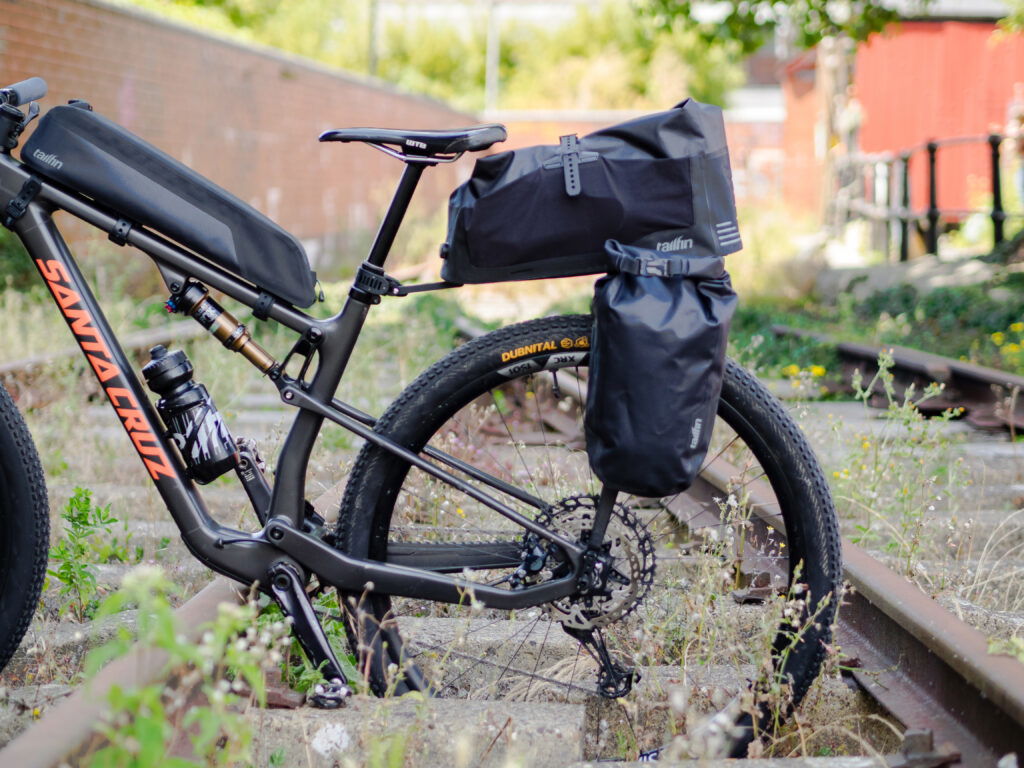
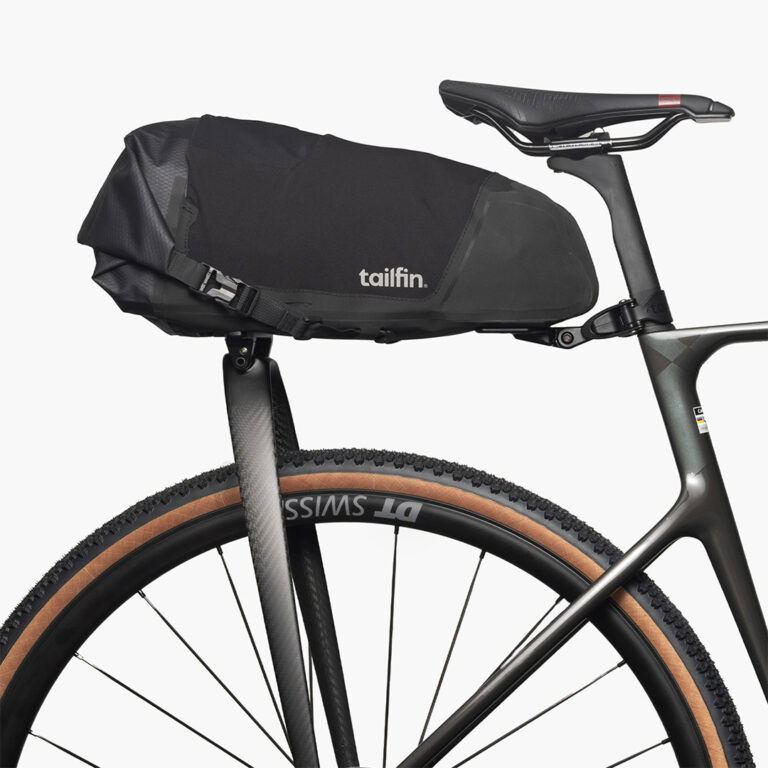
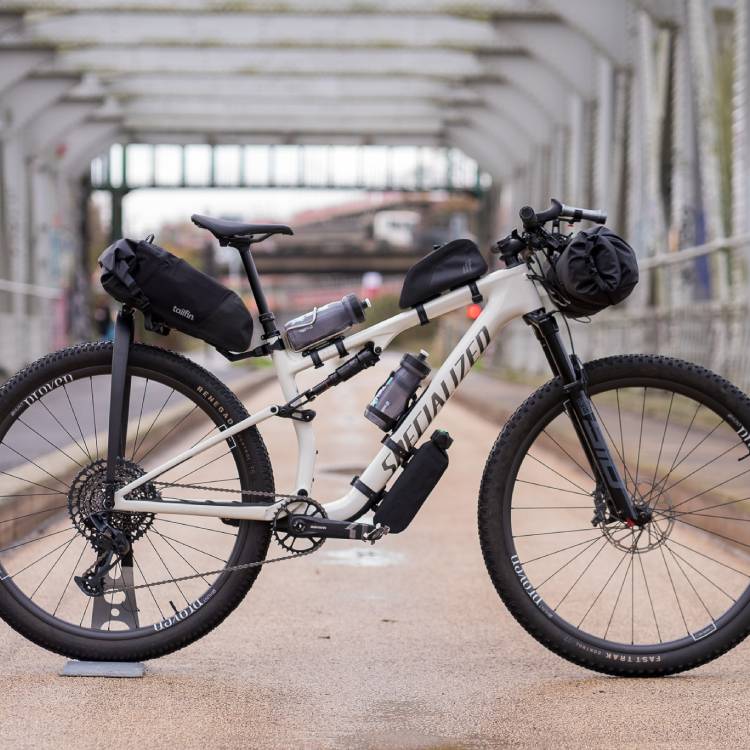
A guide to fitting the CargoPack (formerly known as AeroPack) to the Santa Cruz Blur
Note: This guide references our AeroPack, now available as the CargoPack system or as part of our modular Pannier Rack range
Santa Cruz is one of the most popular brands on the market for mountain and gravel Bikes. The Blur is their cross country offering and is regularly used by customers to go bikepacking.
The Blur has undergone minor changes over the years, but most recently, the design has kept to the same relevant features. This guide will show how to fit a CargoPack (formerly known as AeroPack) to the Blur, and the same mounting principles shown can be applied to other Santa Cruz models. Our ‘Rack with Top Bag’ combination isn’t suitable for the rough terrain typically ridden with this bike.
Configure your Tailfin Order
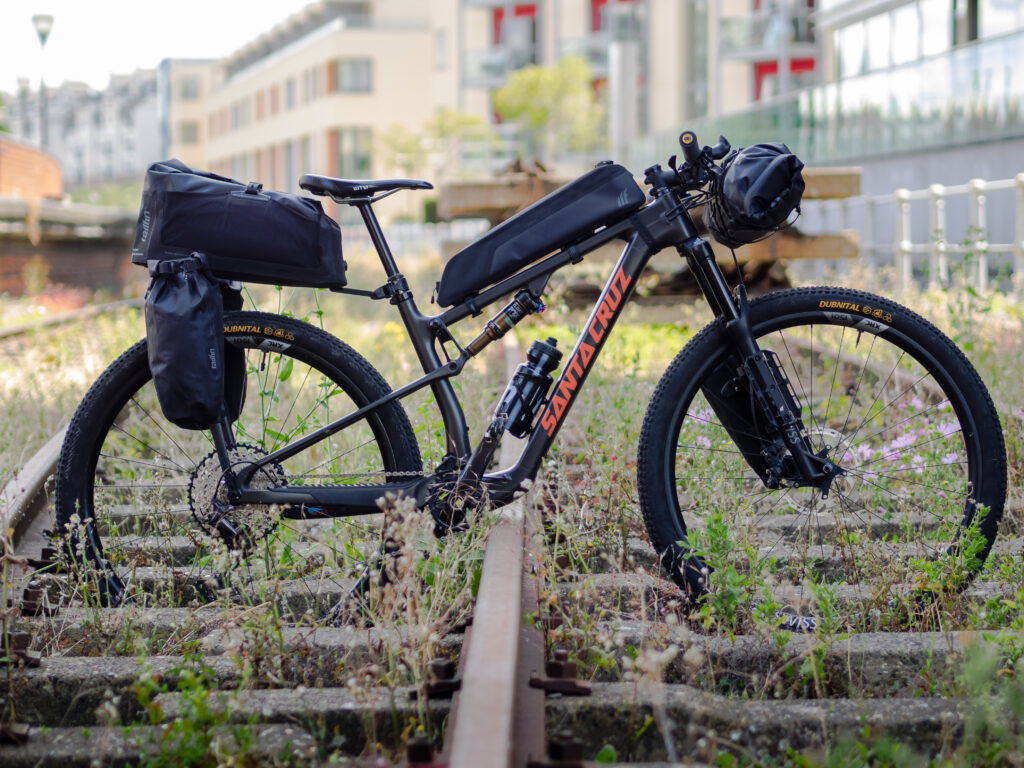
In this example, we’re showing the CargoPack with Pannier Mounts, but our Alloy versions are also compatible with the Blur. The CargoPack is safe to use on full-suspension bikes as it will pivot to accommodate the decompression.
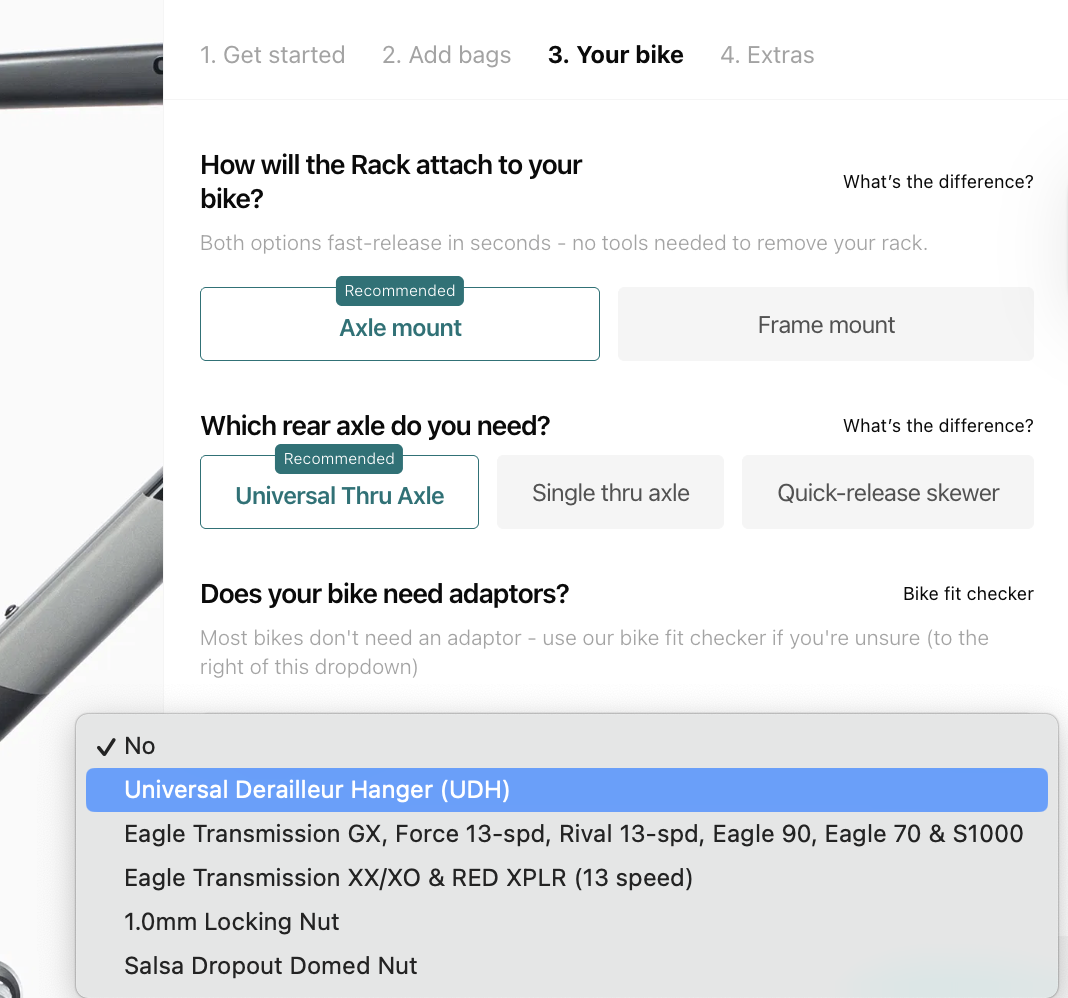
See our comparison guides here to help choose which setup is best for you, based on your riding plans. For simplicity, we’re using the Universal Thru Axle on this bike. It includes the 1.0mm thread attachment for all Blur models and is just as strong as our other axles.
Before placing your order, please also use our Axle Guide to determine if any additional adaptors are required. Santa Cruz changed the frame on the Blur model in 2022 to include Universal Derailleur Hanger (UDH) compatibility.
Even though the Blur is now UDH compatible, Santa Cruz spec their frames with a third-party version. Unfortunately, this version isn’t compatible with our UDH Adaptor, so an official SRAM UDH is also required.
If you are instead using one of SRAM’s Transmission derailleurs, you won’t require a derailleur hanger. However, one of our Transmission Adaptors is required to install our Axle. For example, if you are using an XX Transmission rear mech, ensure you include our XX Adaptor with your order.
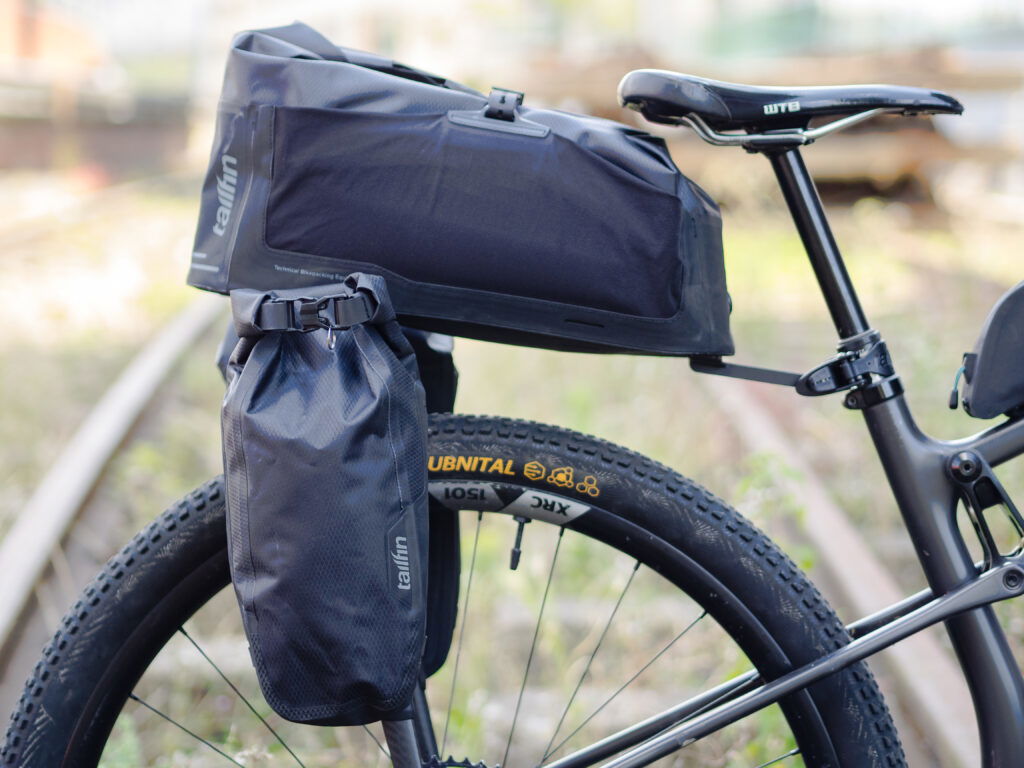
For smaller frames and when using a dropper post, the CargoPack Extender is necessary to offer enough clearance between the bag and saddle. The Extender pushes the bag further away from your saddle and helps maximise the space available for the CargoPack’s bag. For best results, we also recommend packing smaller/softer items at the front of the bag when using a dropper post.
The CargoPack Extender has been fitted to the CargoPack shown in this guide.
Time to assemble
Use our assembly guides to put together your CargoPack. You’ll need a Torx T25 tool and a torque wrench to do this.

Fit the new axle
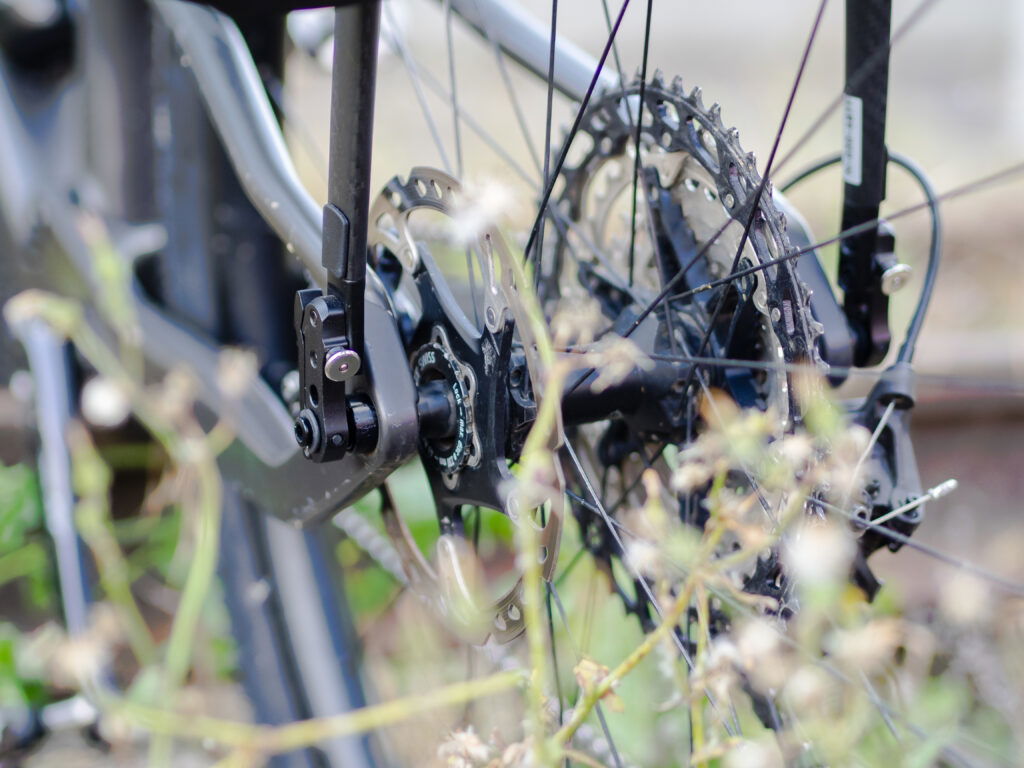
Now your CargoPack is assembled, just one part remains – fitting it to your bike. To do this, you’ll need to install the new Tailfin Thru-Axle. In this guide, the Universal Thru Axle is shown.
Follow the steps below to install the new axle:
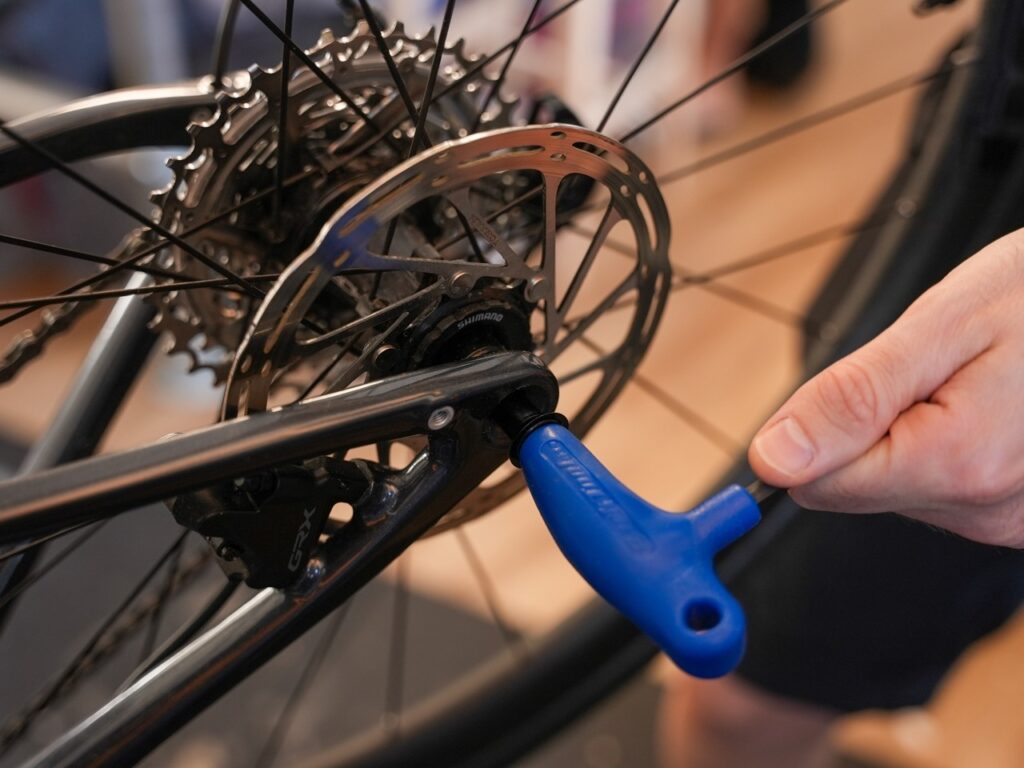
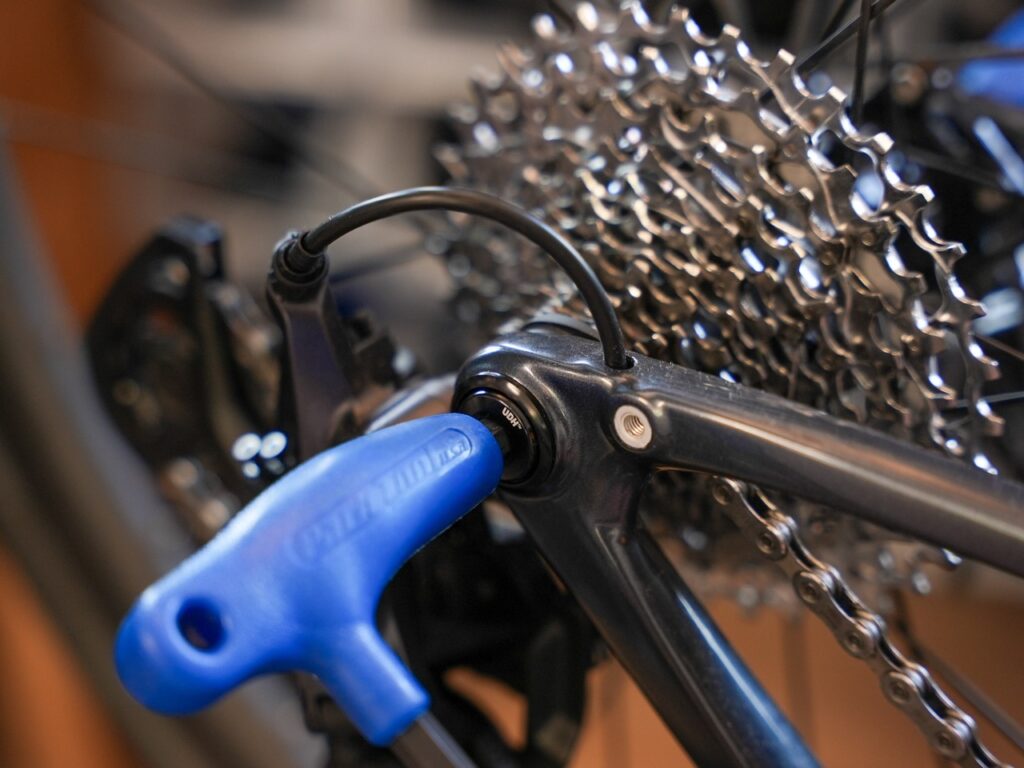
For UDH-equipped Blurs like this, remove the original hanger and fit the new SRAM UDH and Tailfin Adaptor. See our video guide. For Transmission users, see our guide.
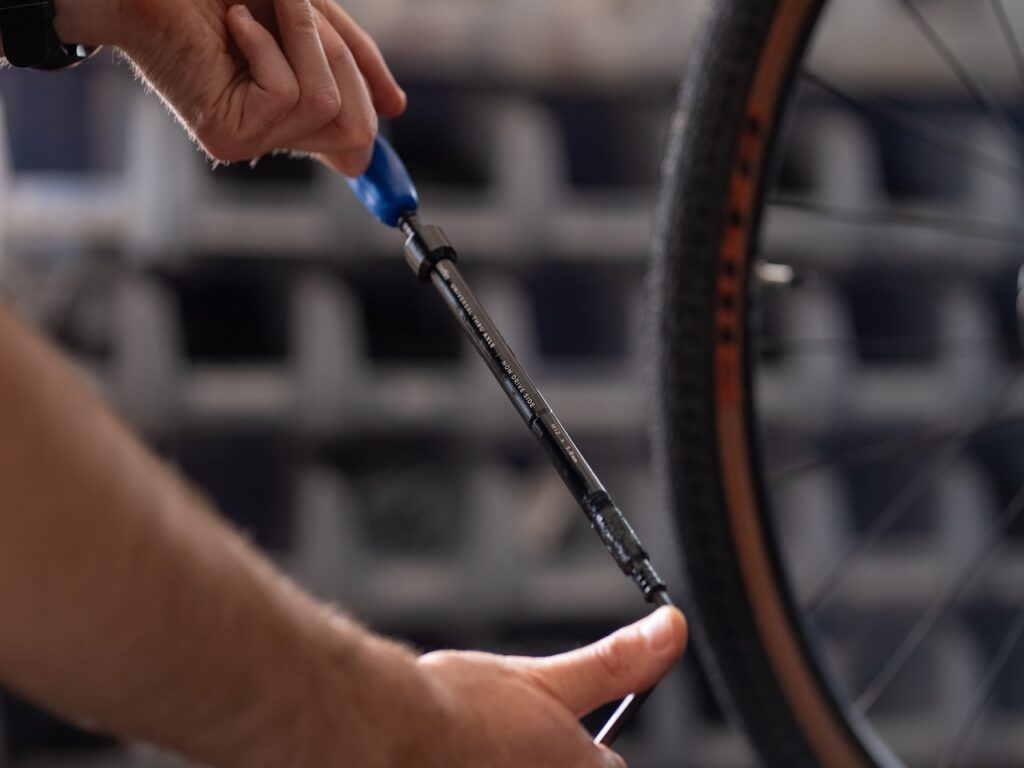
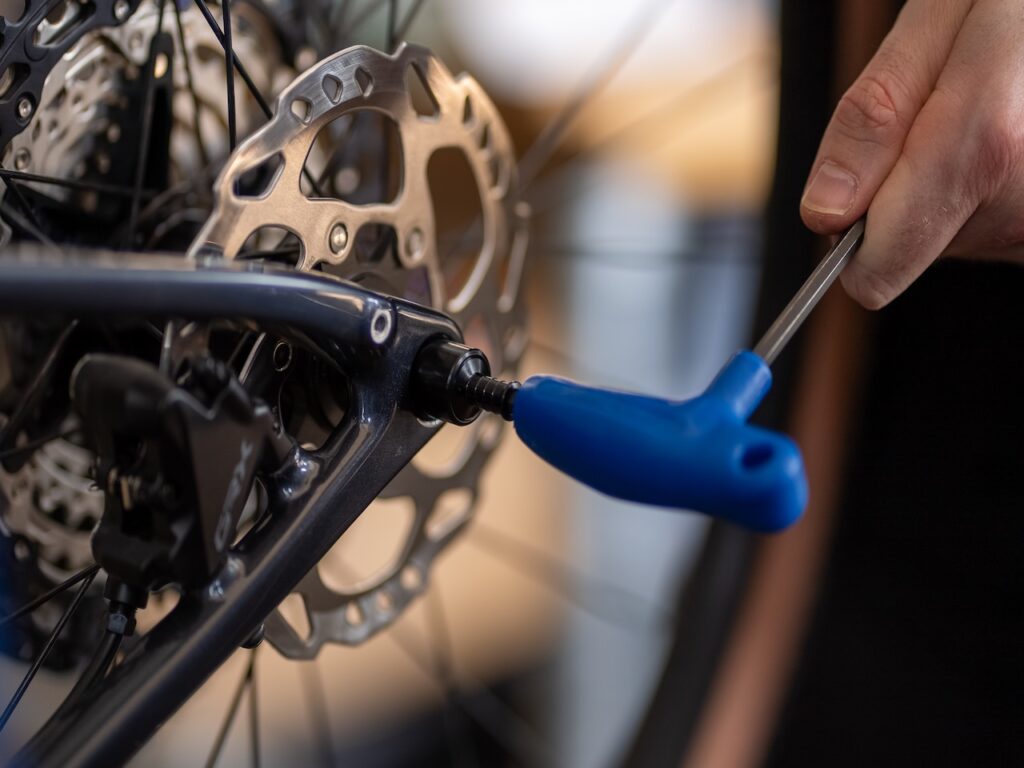
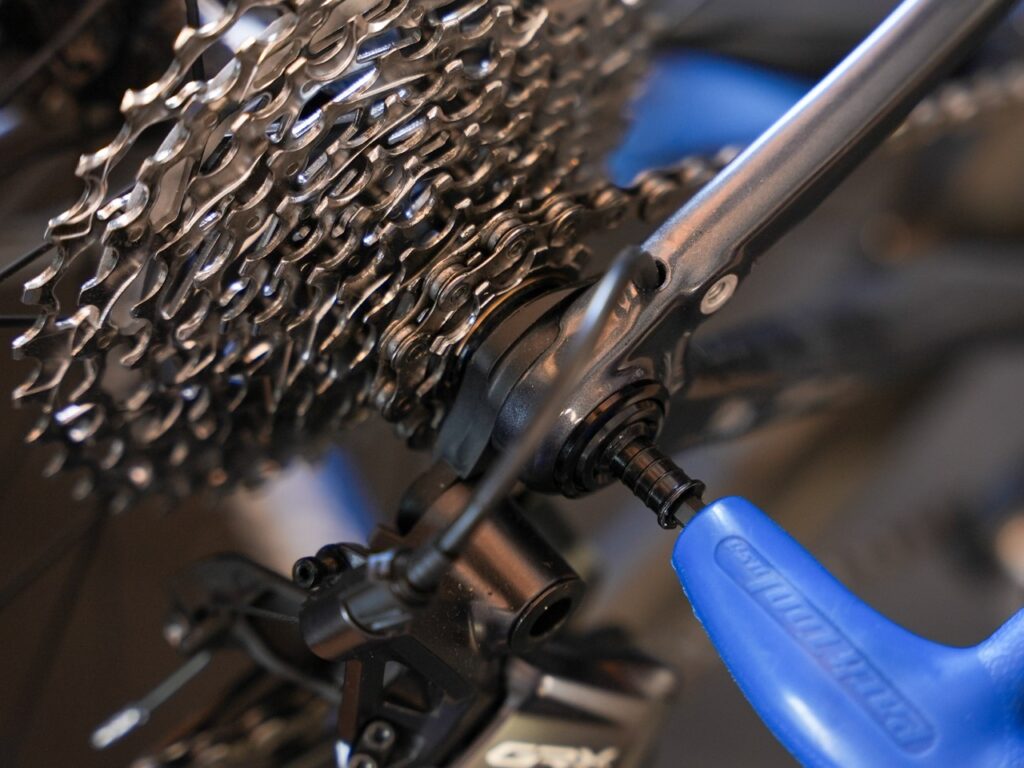
You can leave the axle fitted even without the CargoPack attached. It’s normal for threads to show on the drive side – it is just as safe as your original axle, as the number of axle threads engaged with the frame is the same. To remove the Universal Thru Axle, loosen it from the driveside of your bike.
Attach your CargoPack
The last step is to attach the CargoPack to your bike. It’s often easier to do this standing behind your bike.
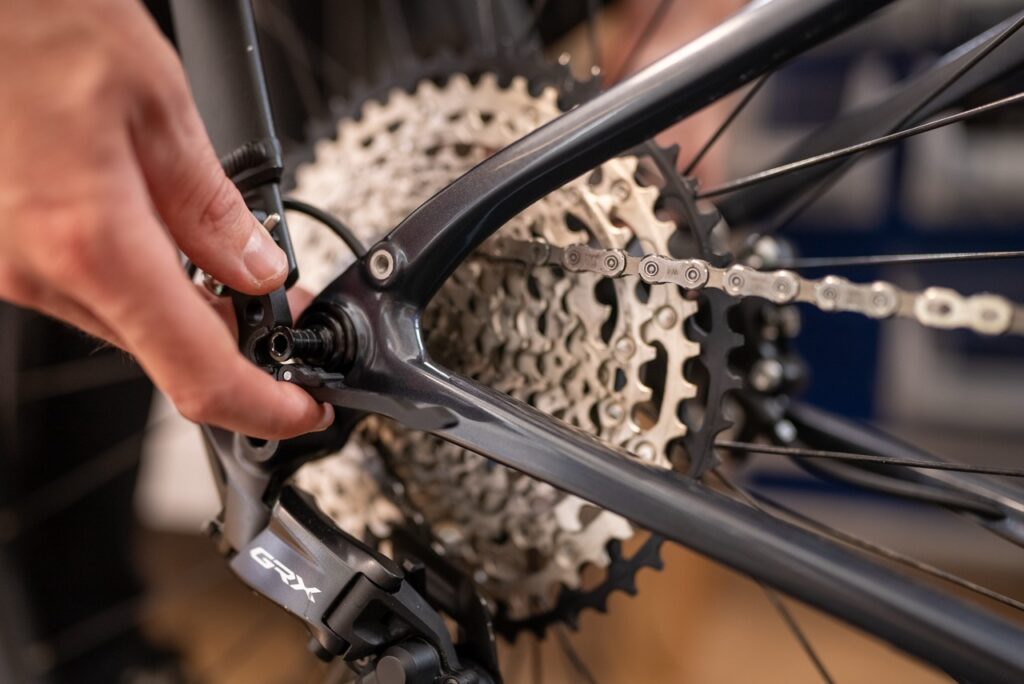
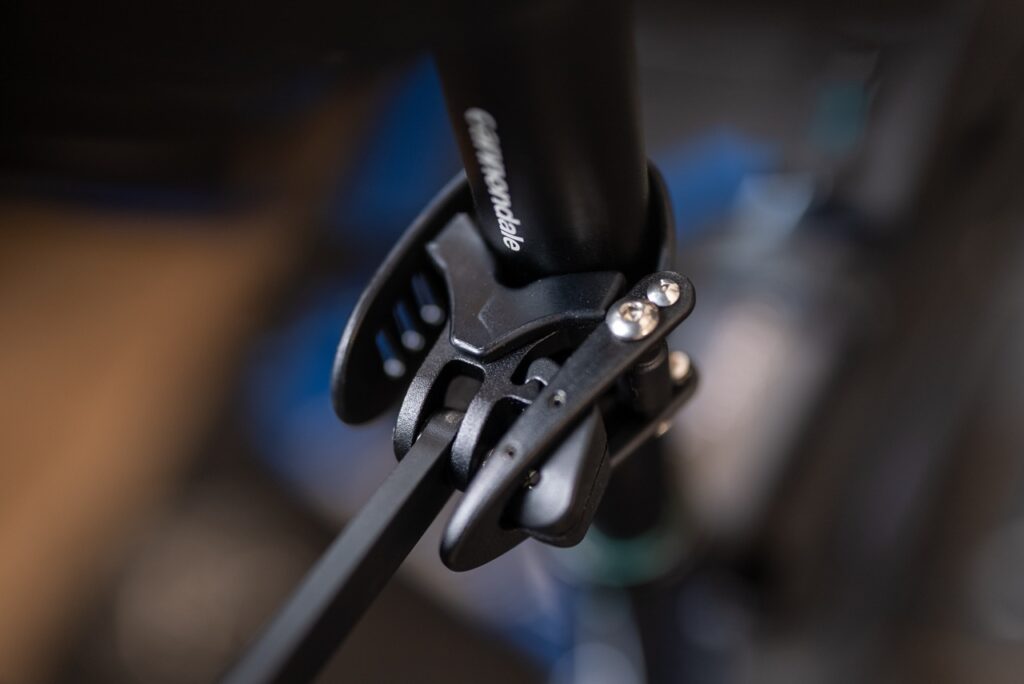
Secure the Seat Post Connector in place and ensure it’s locked shut. See our quick guide on how to correctly attach the Seat Post Connector. When using a dropper post, secure the strap around the area below your dropper stanchion.
Now you’re ready to ride!
Additional products
The CargoPack has an 18L internal capacity with an extra 3L when using the side mesh pockets. The model shown in this guide can also carry additional items on the sides. If you need extra storage, consider these options below;

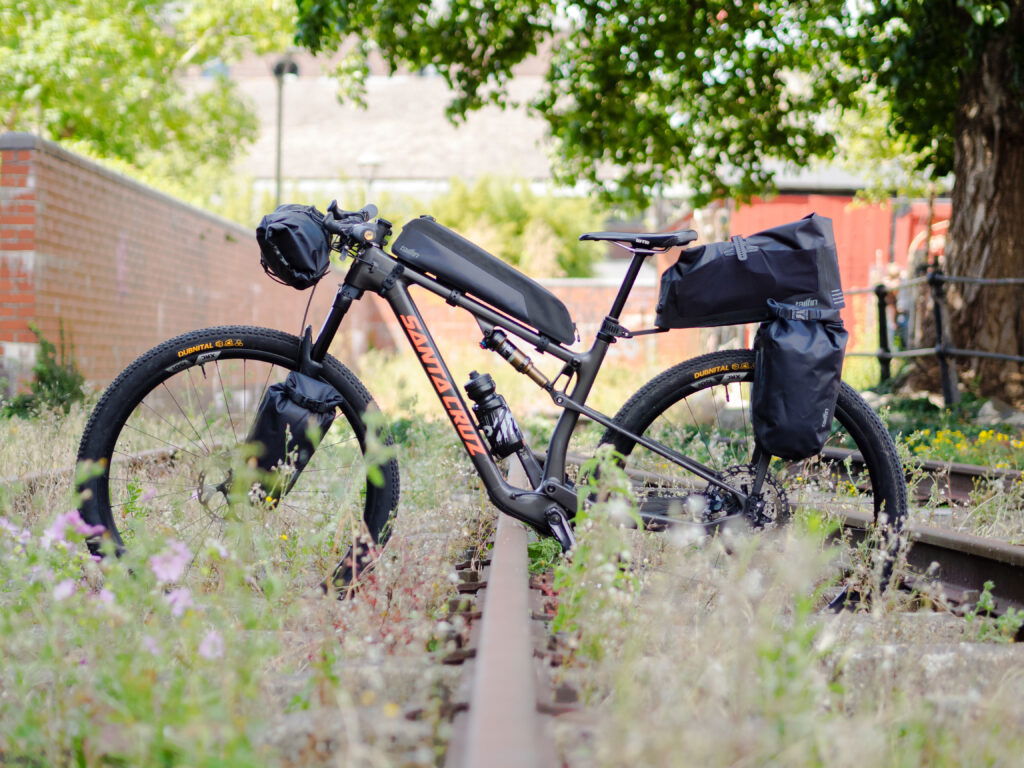
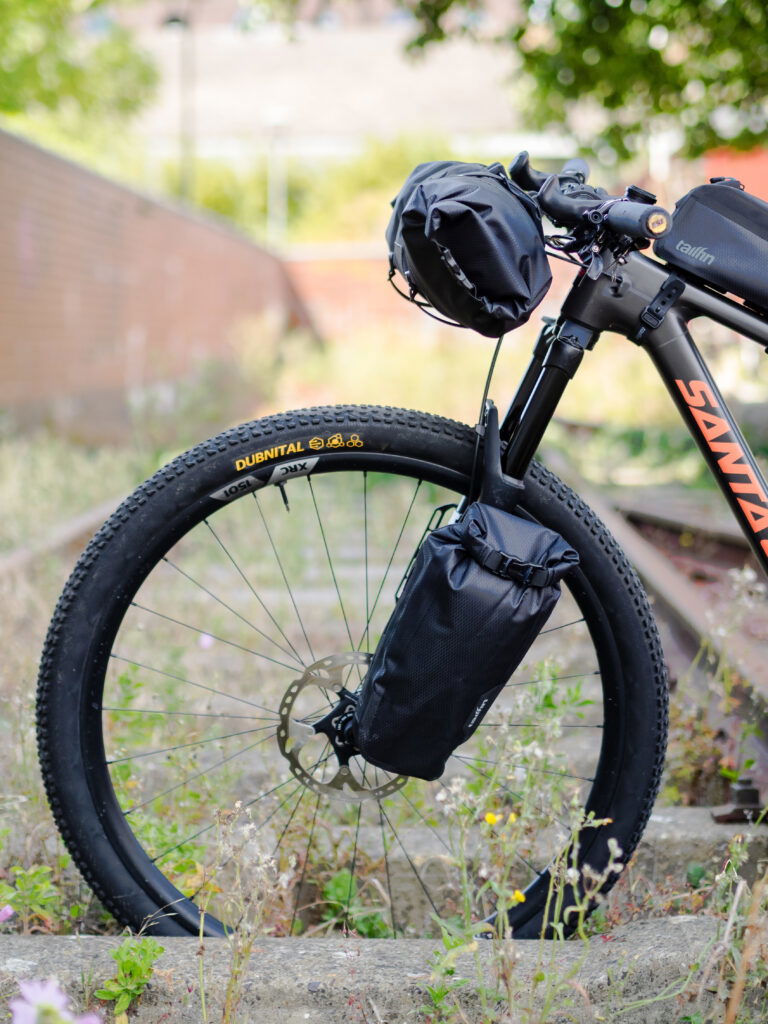
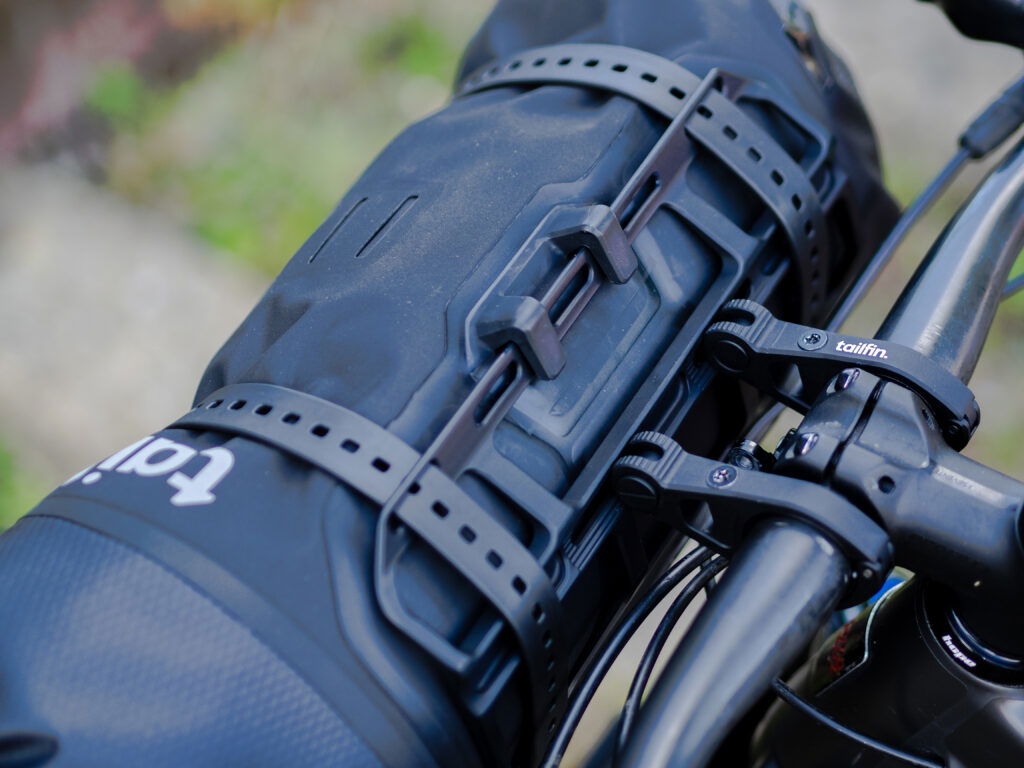
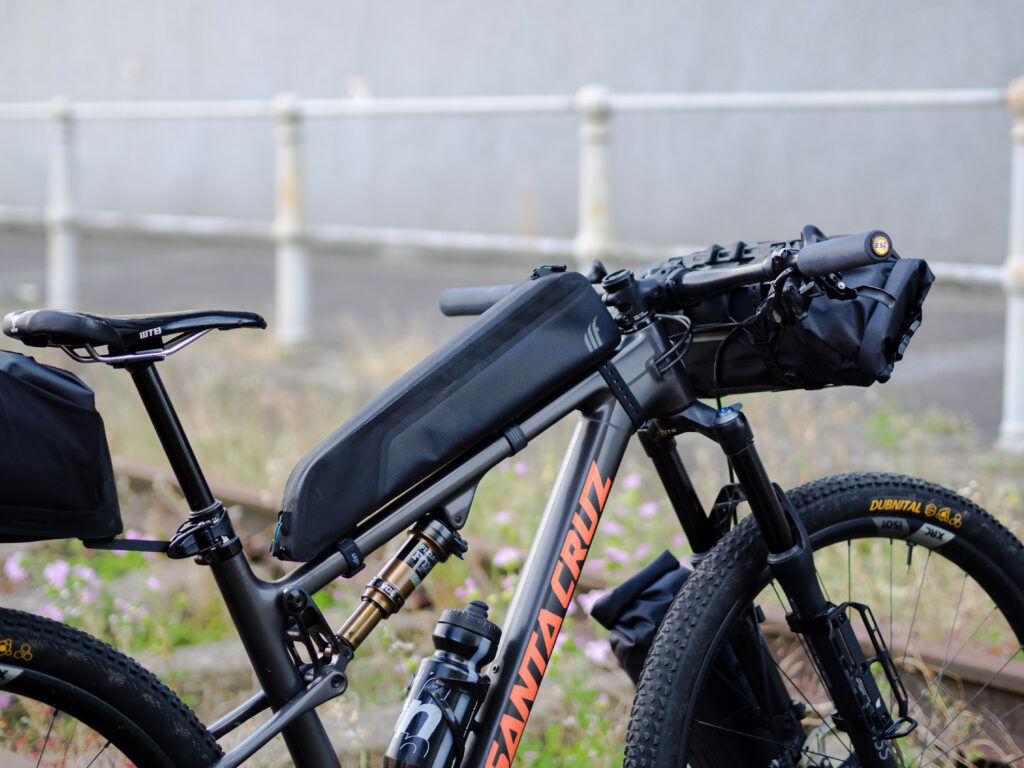
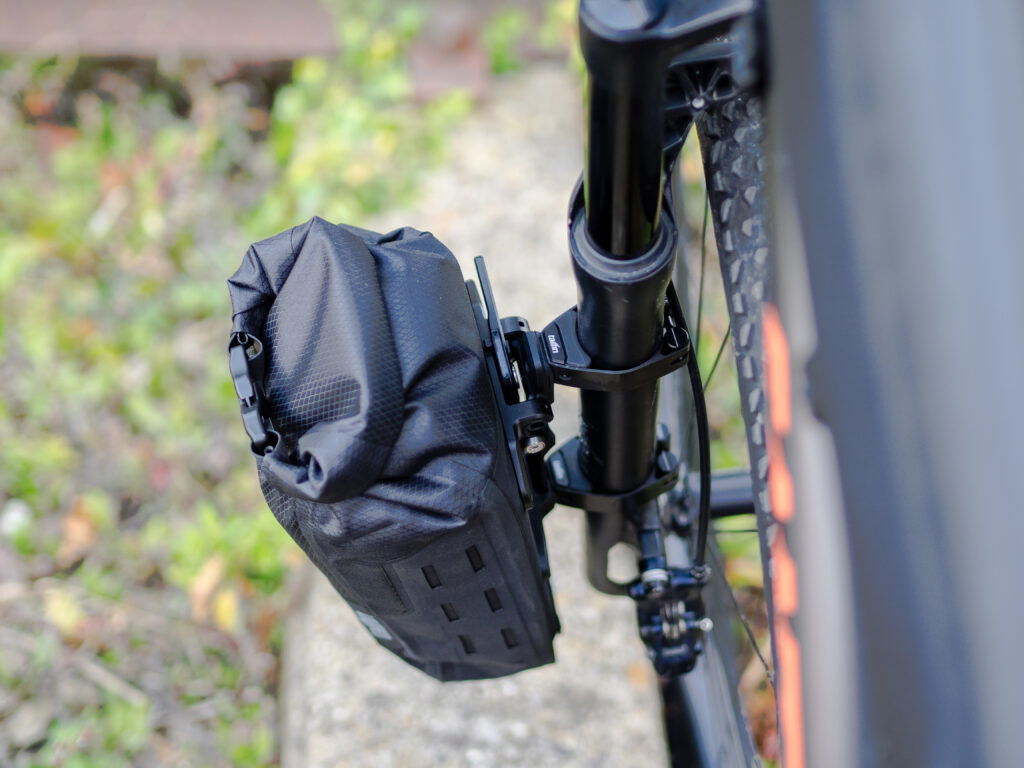
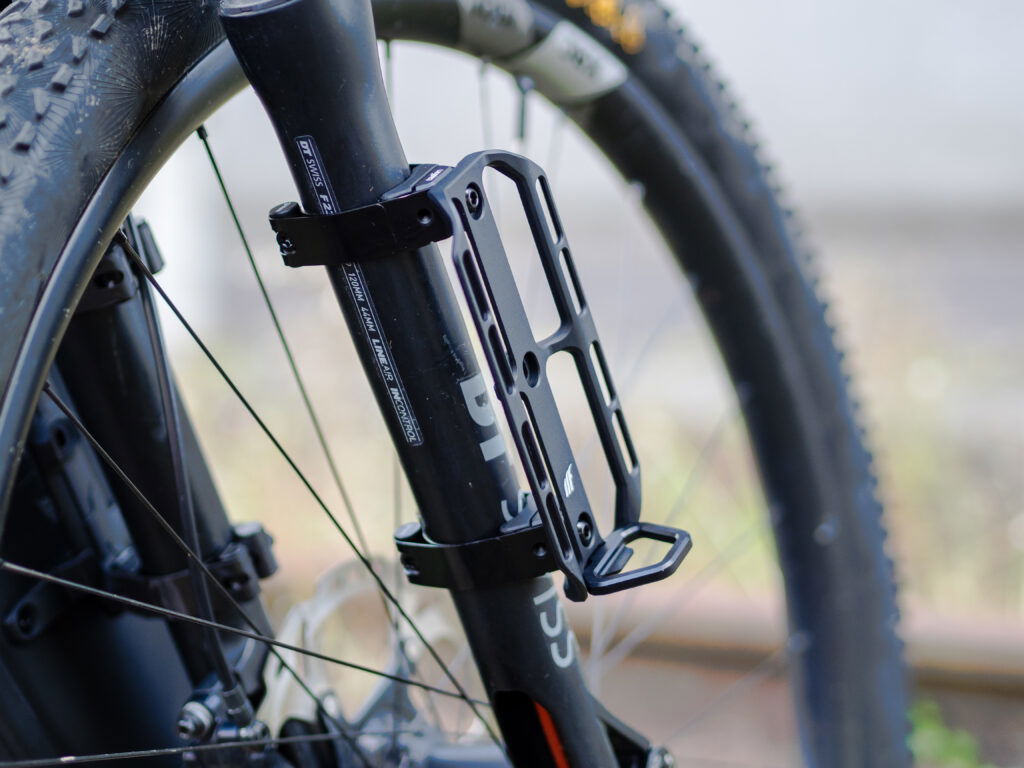
Bike shown with additional 5L/10L Mini Panniers and 5L Fork Pack, 2.2L Long Top Tube Bag, Bar Cage System with 11L Bag and Small Cargo Cage mounted on Steel Suspension Fork Mounts.
