The Journey Rack

All-new quick-release, foldable rear rack. Fits to any bike and carries everything.
What’s your riding style?


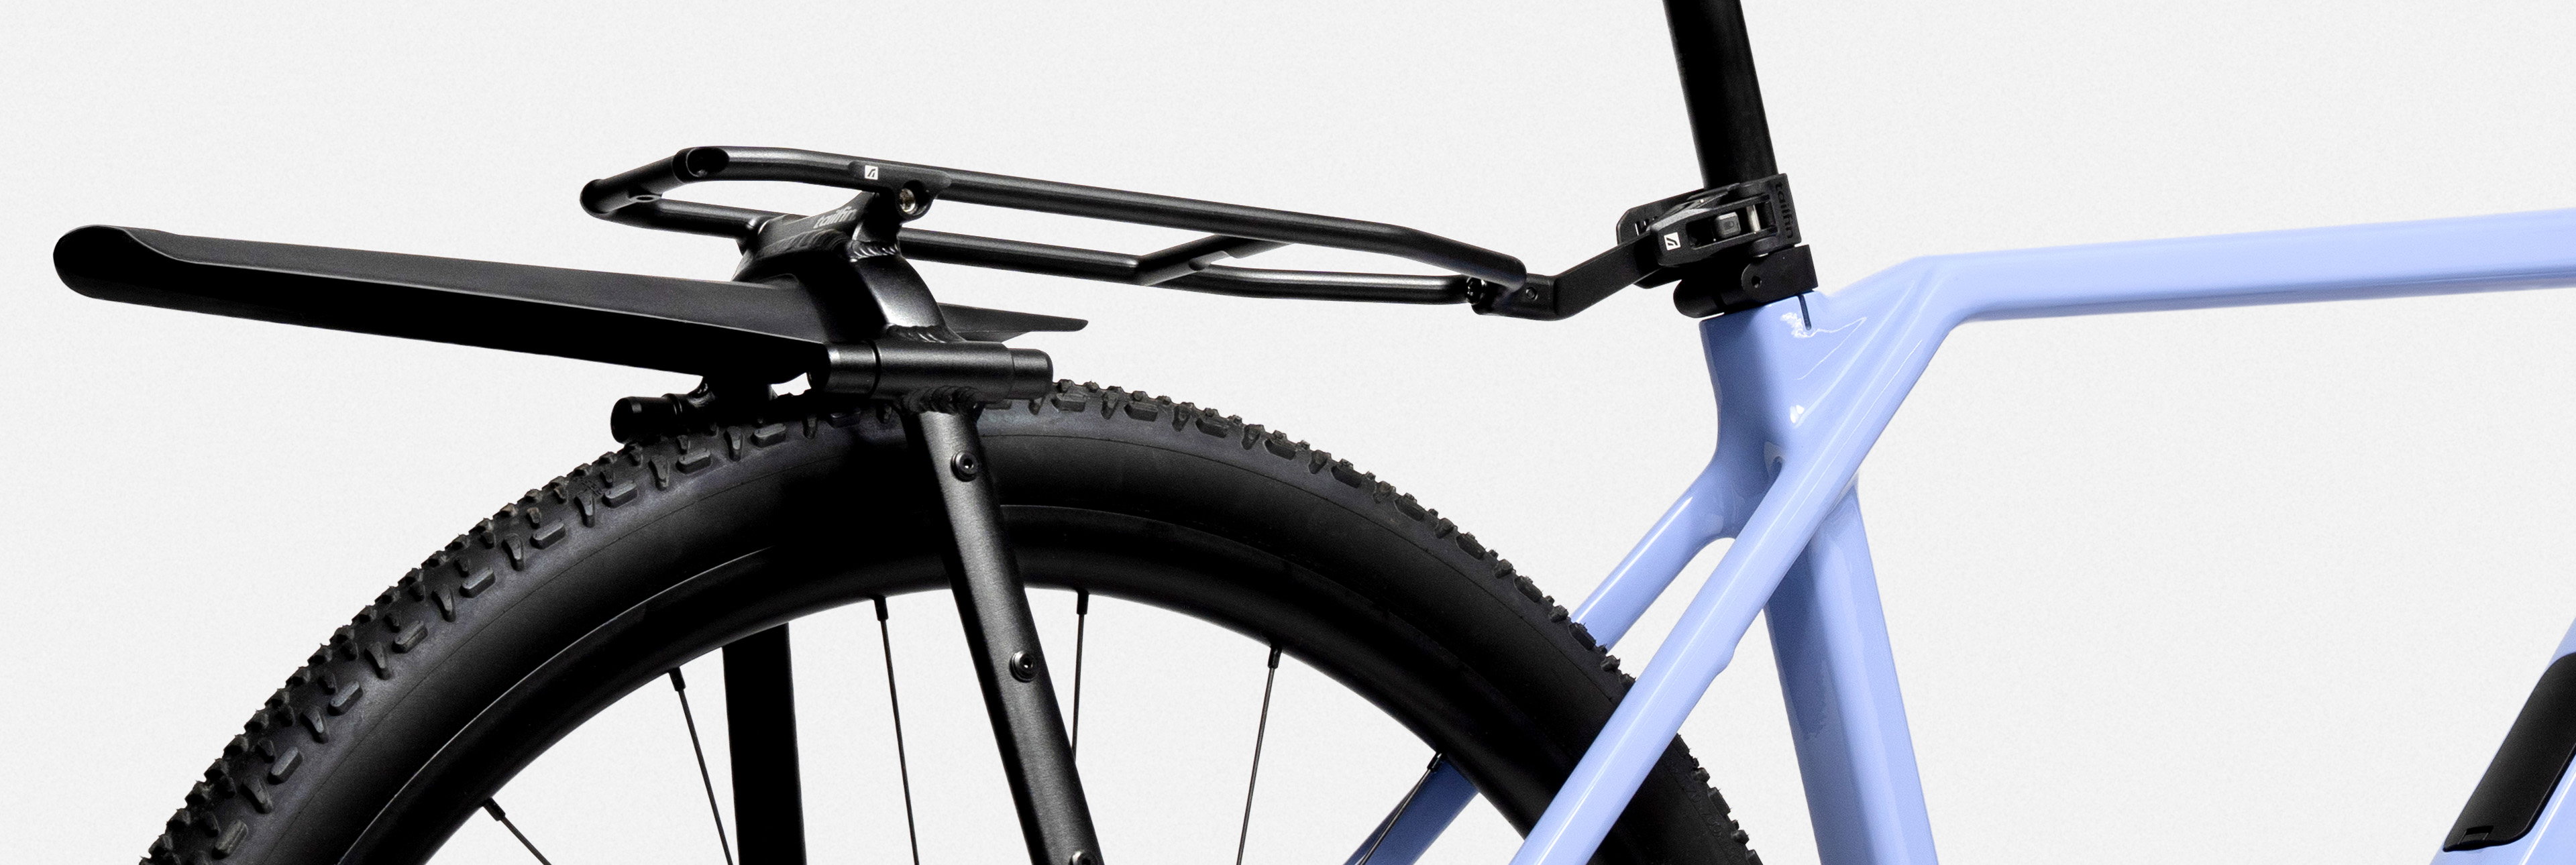
The Journey Rack
Deep Dive
The details make the journey better
98%
Overall Customer Rating
Don’t take our word for it
With over 9000+ customer reviews, it’s one of our proudest achievements.
“Beautifully made, fully waterproof, mounts in seconds, more capacity than a seatpack, AERO… it’s a lovely thing that’s a joy to use.”
“Tailfin’s AeroPack S is one of the best rear luggage options for serious bikepacking (and commuting) ever tested. It is expensive but its simplicity, ease of use and pleasing design make you forget the price within the first ride.”
9/10
“It strikes a sweet spot between weight, space, and usability…the Aeropack’s execution is so much better than anything I’ve ever seen.”